Front Mount Fascia Controller
$9.95
Front Mount Fascia Controller Features
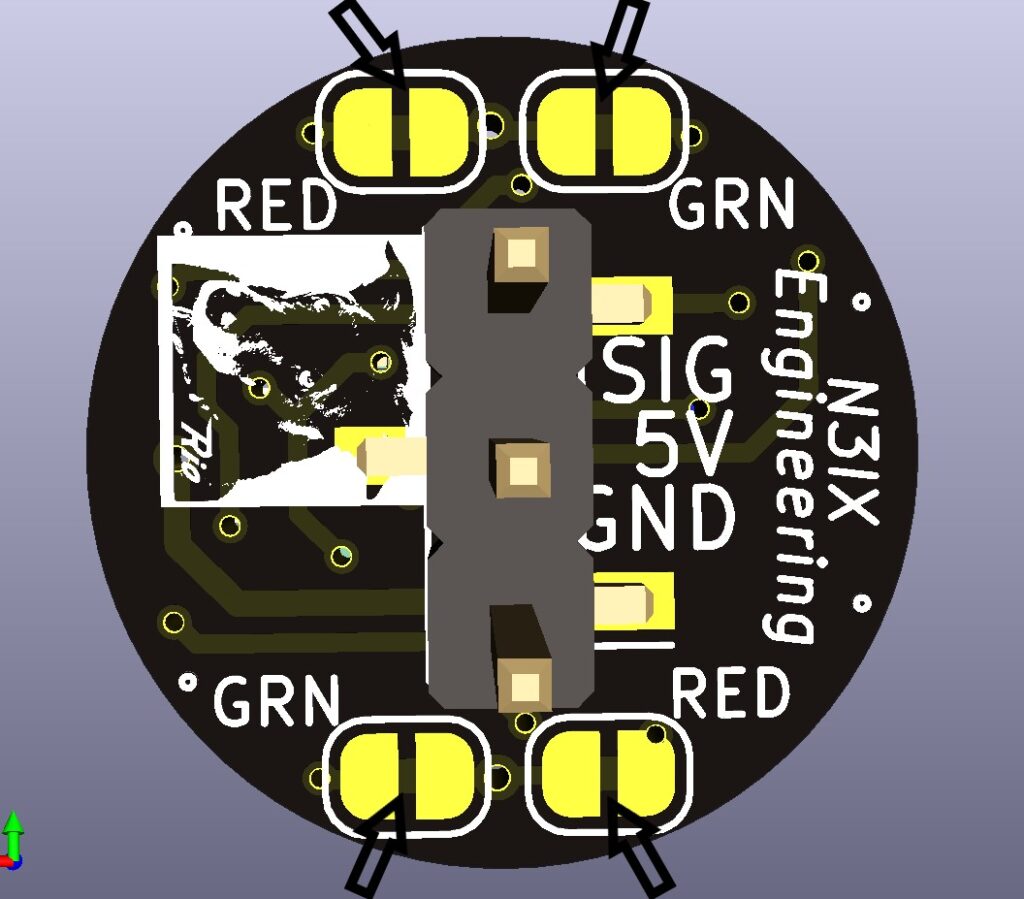
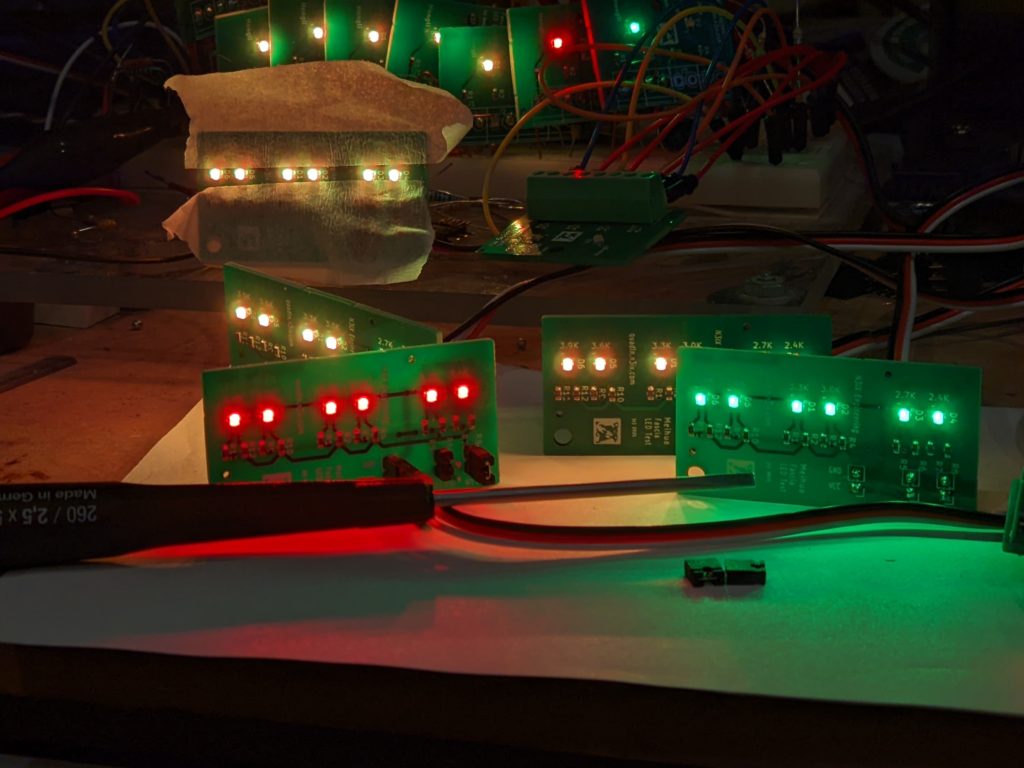
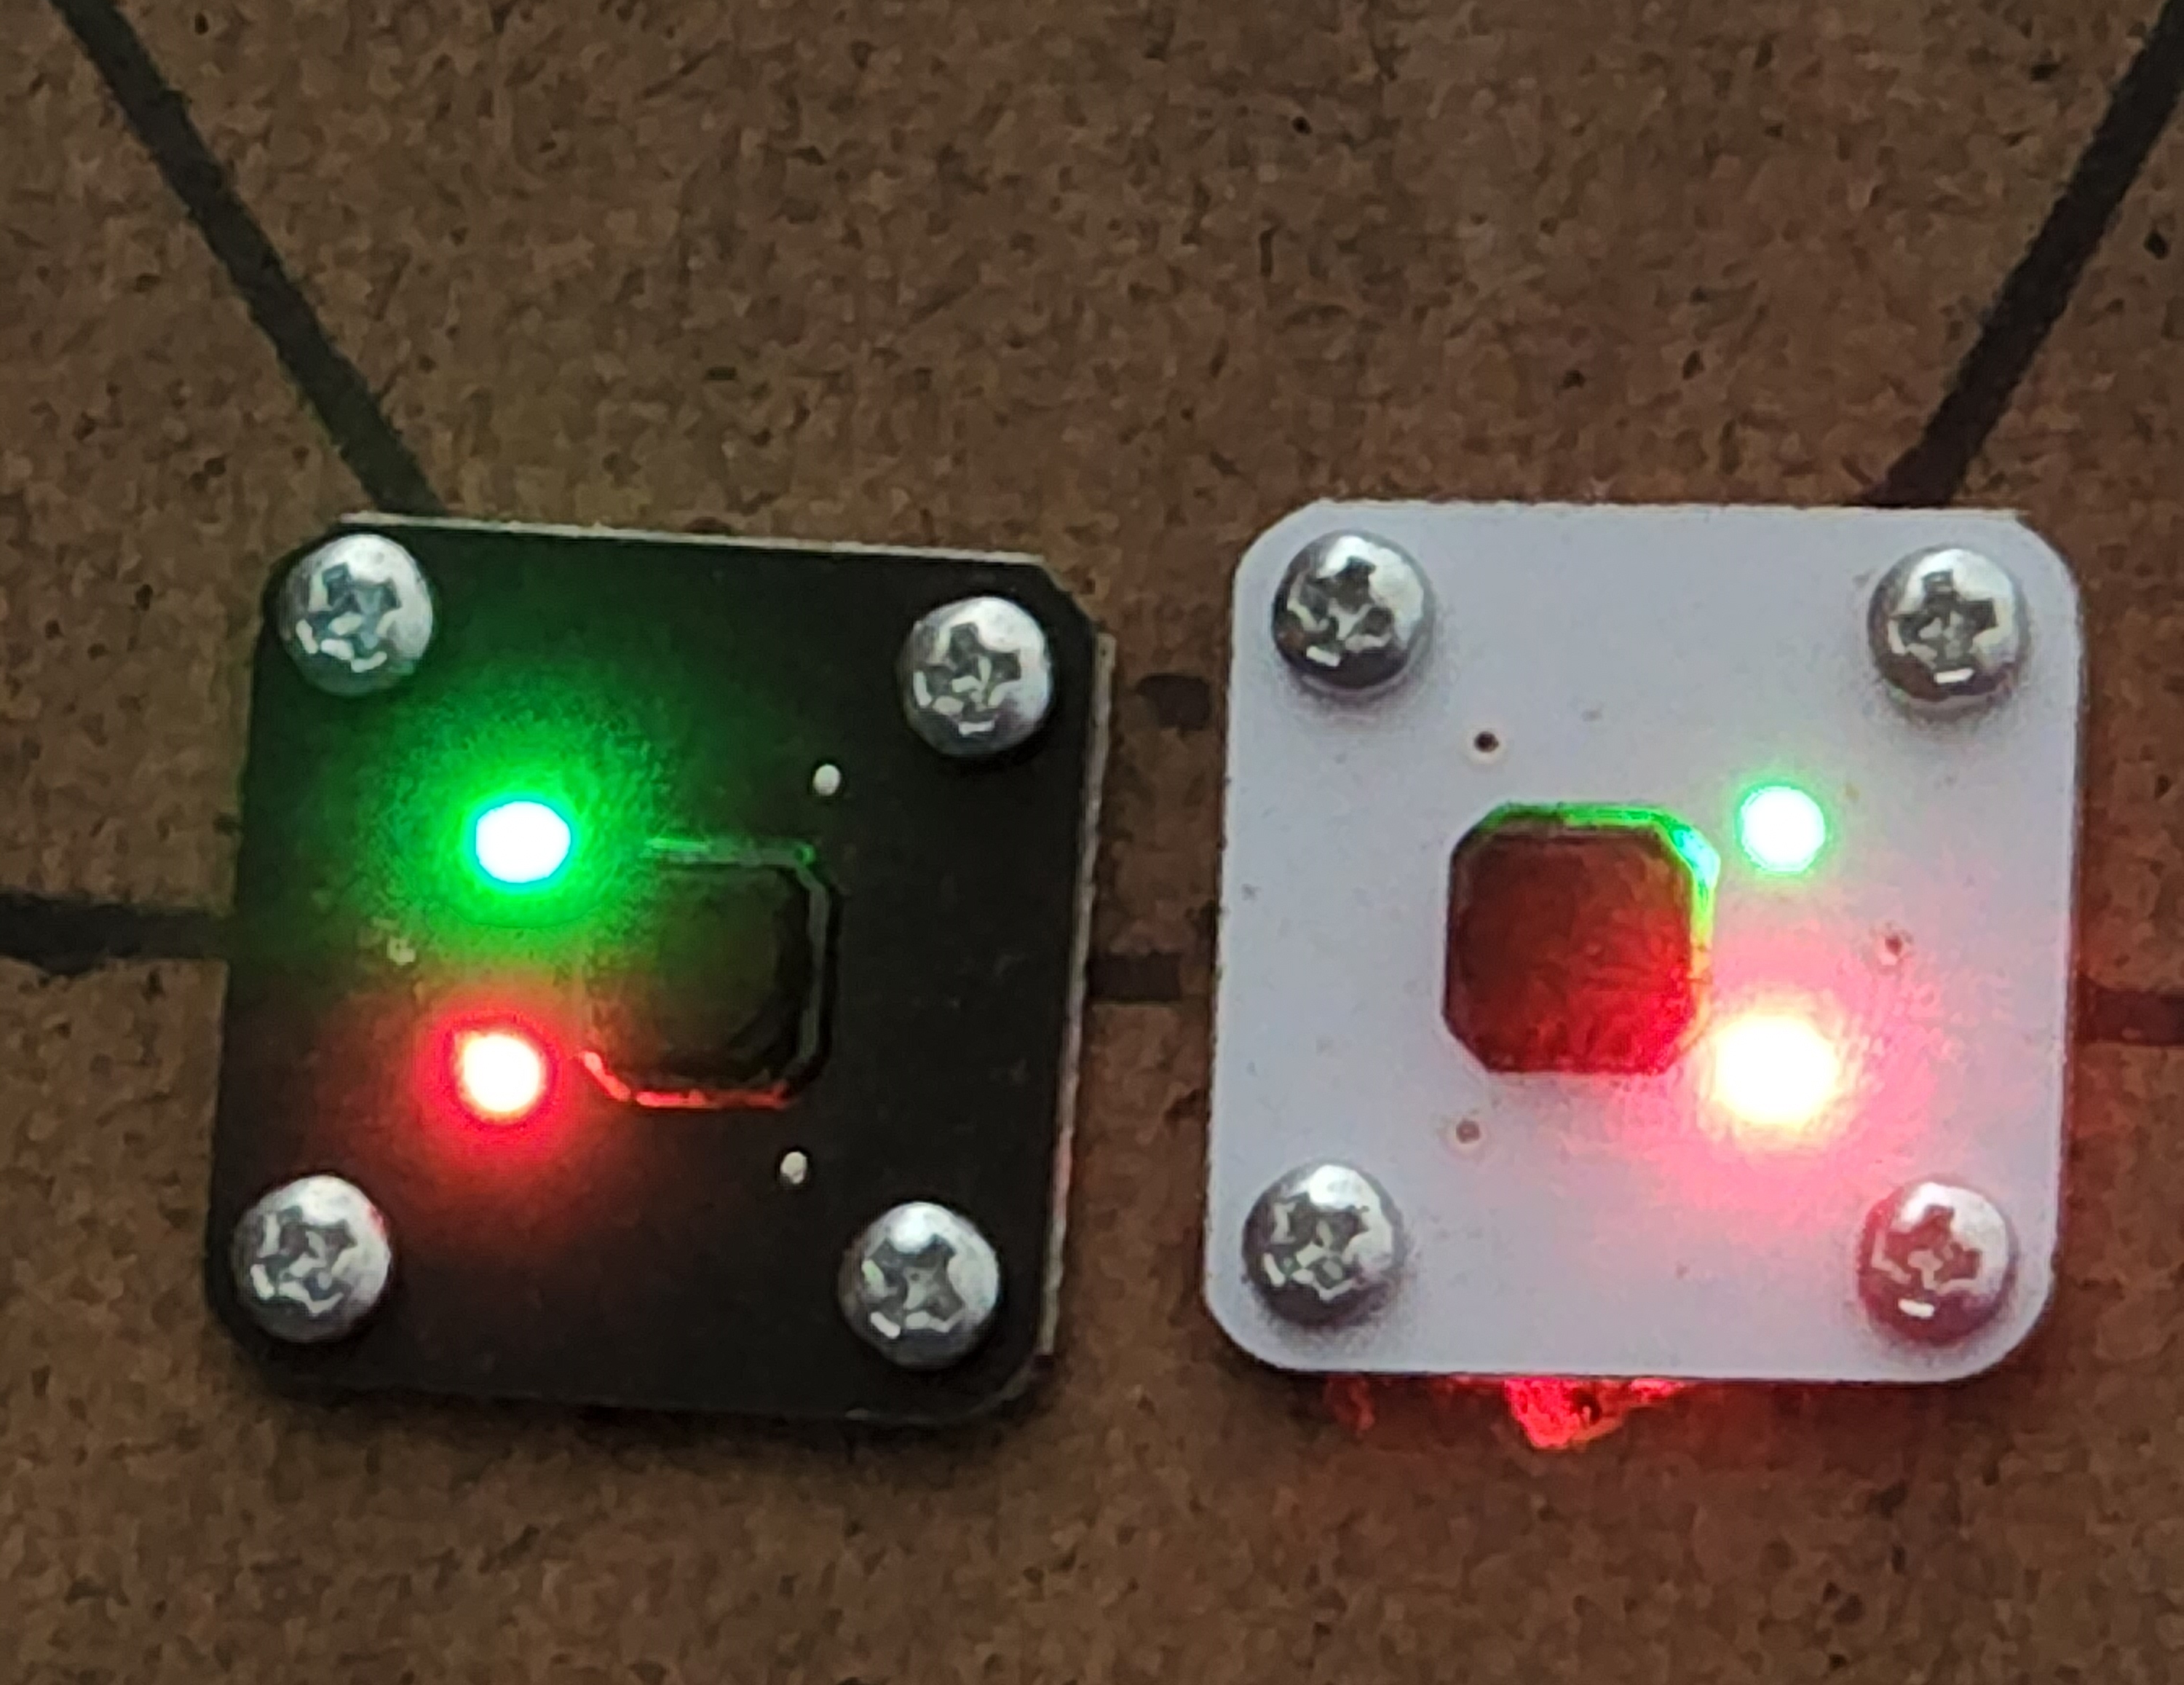
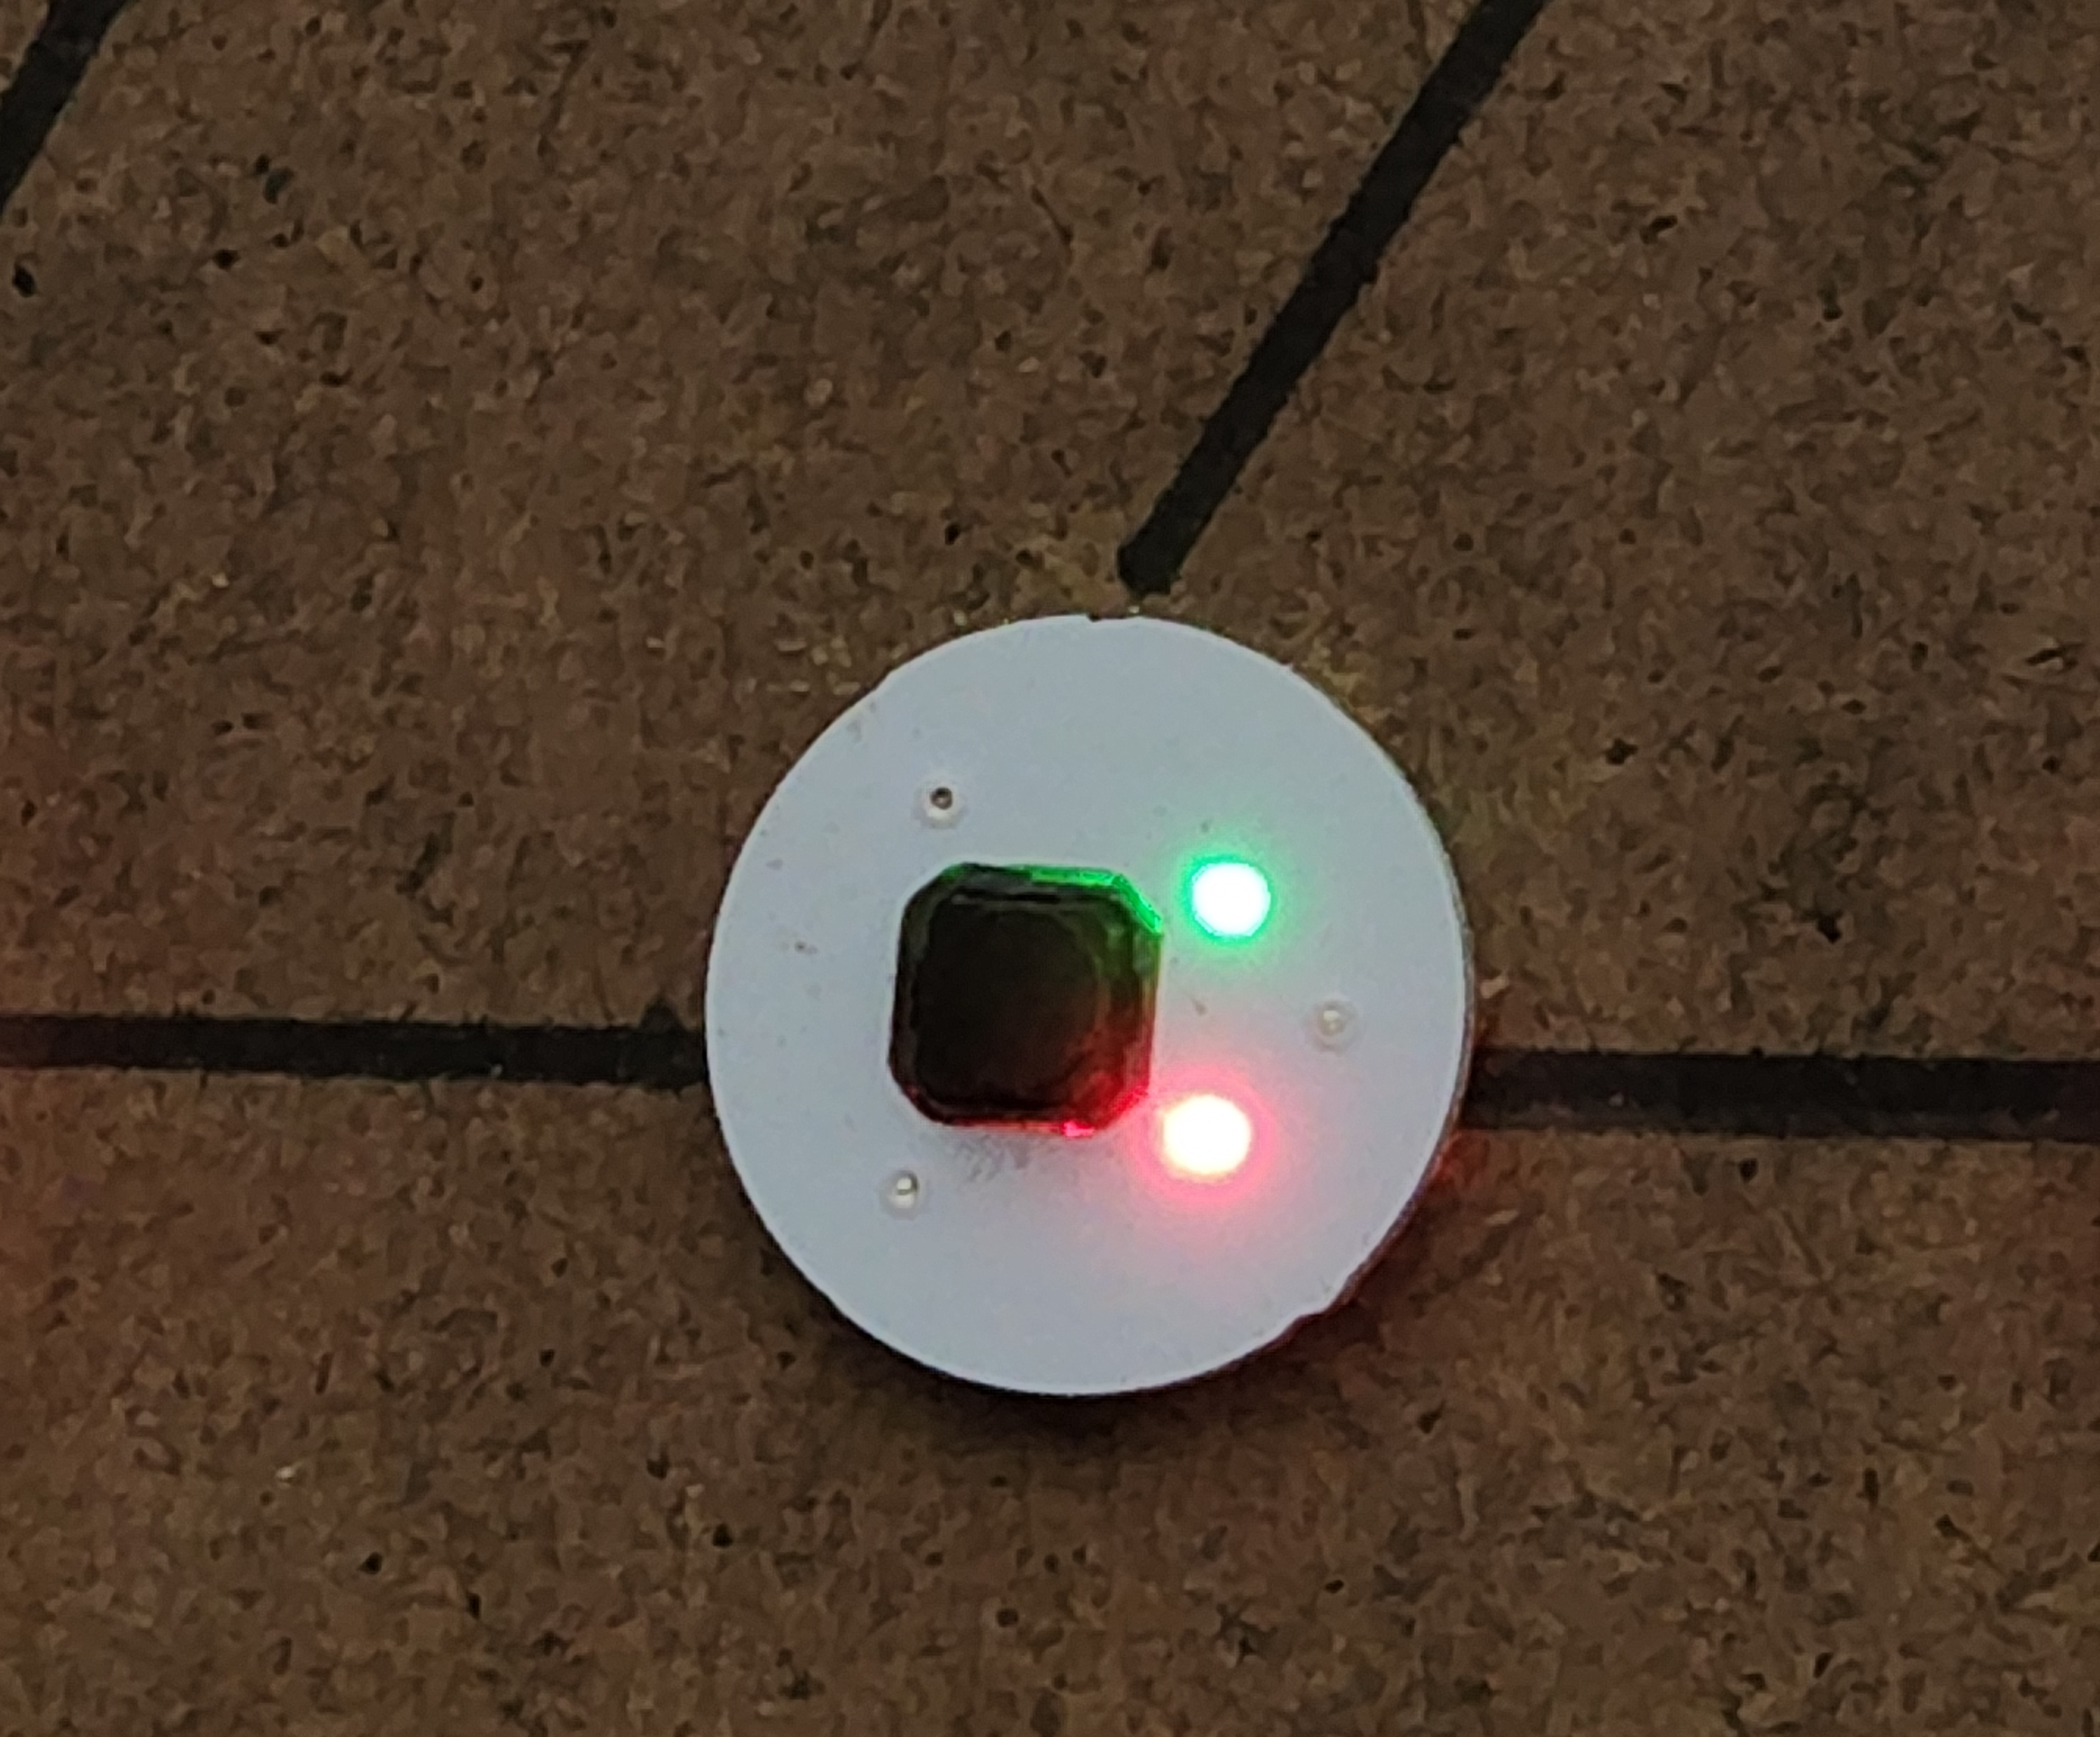
Designed for simple mounting on the front of your control panel. Comes fully assembled with on-board pushbutton, Green-Red LEDs and drive electronics.
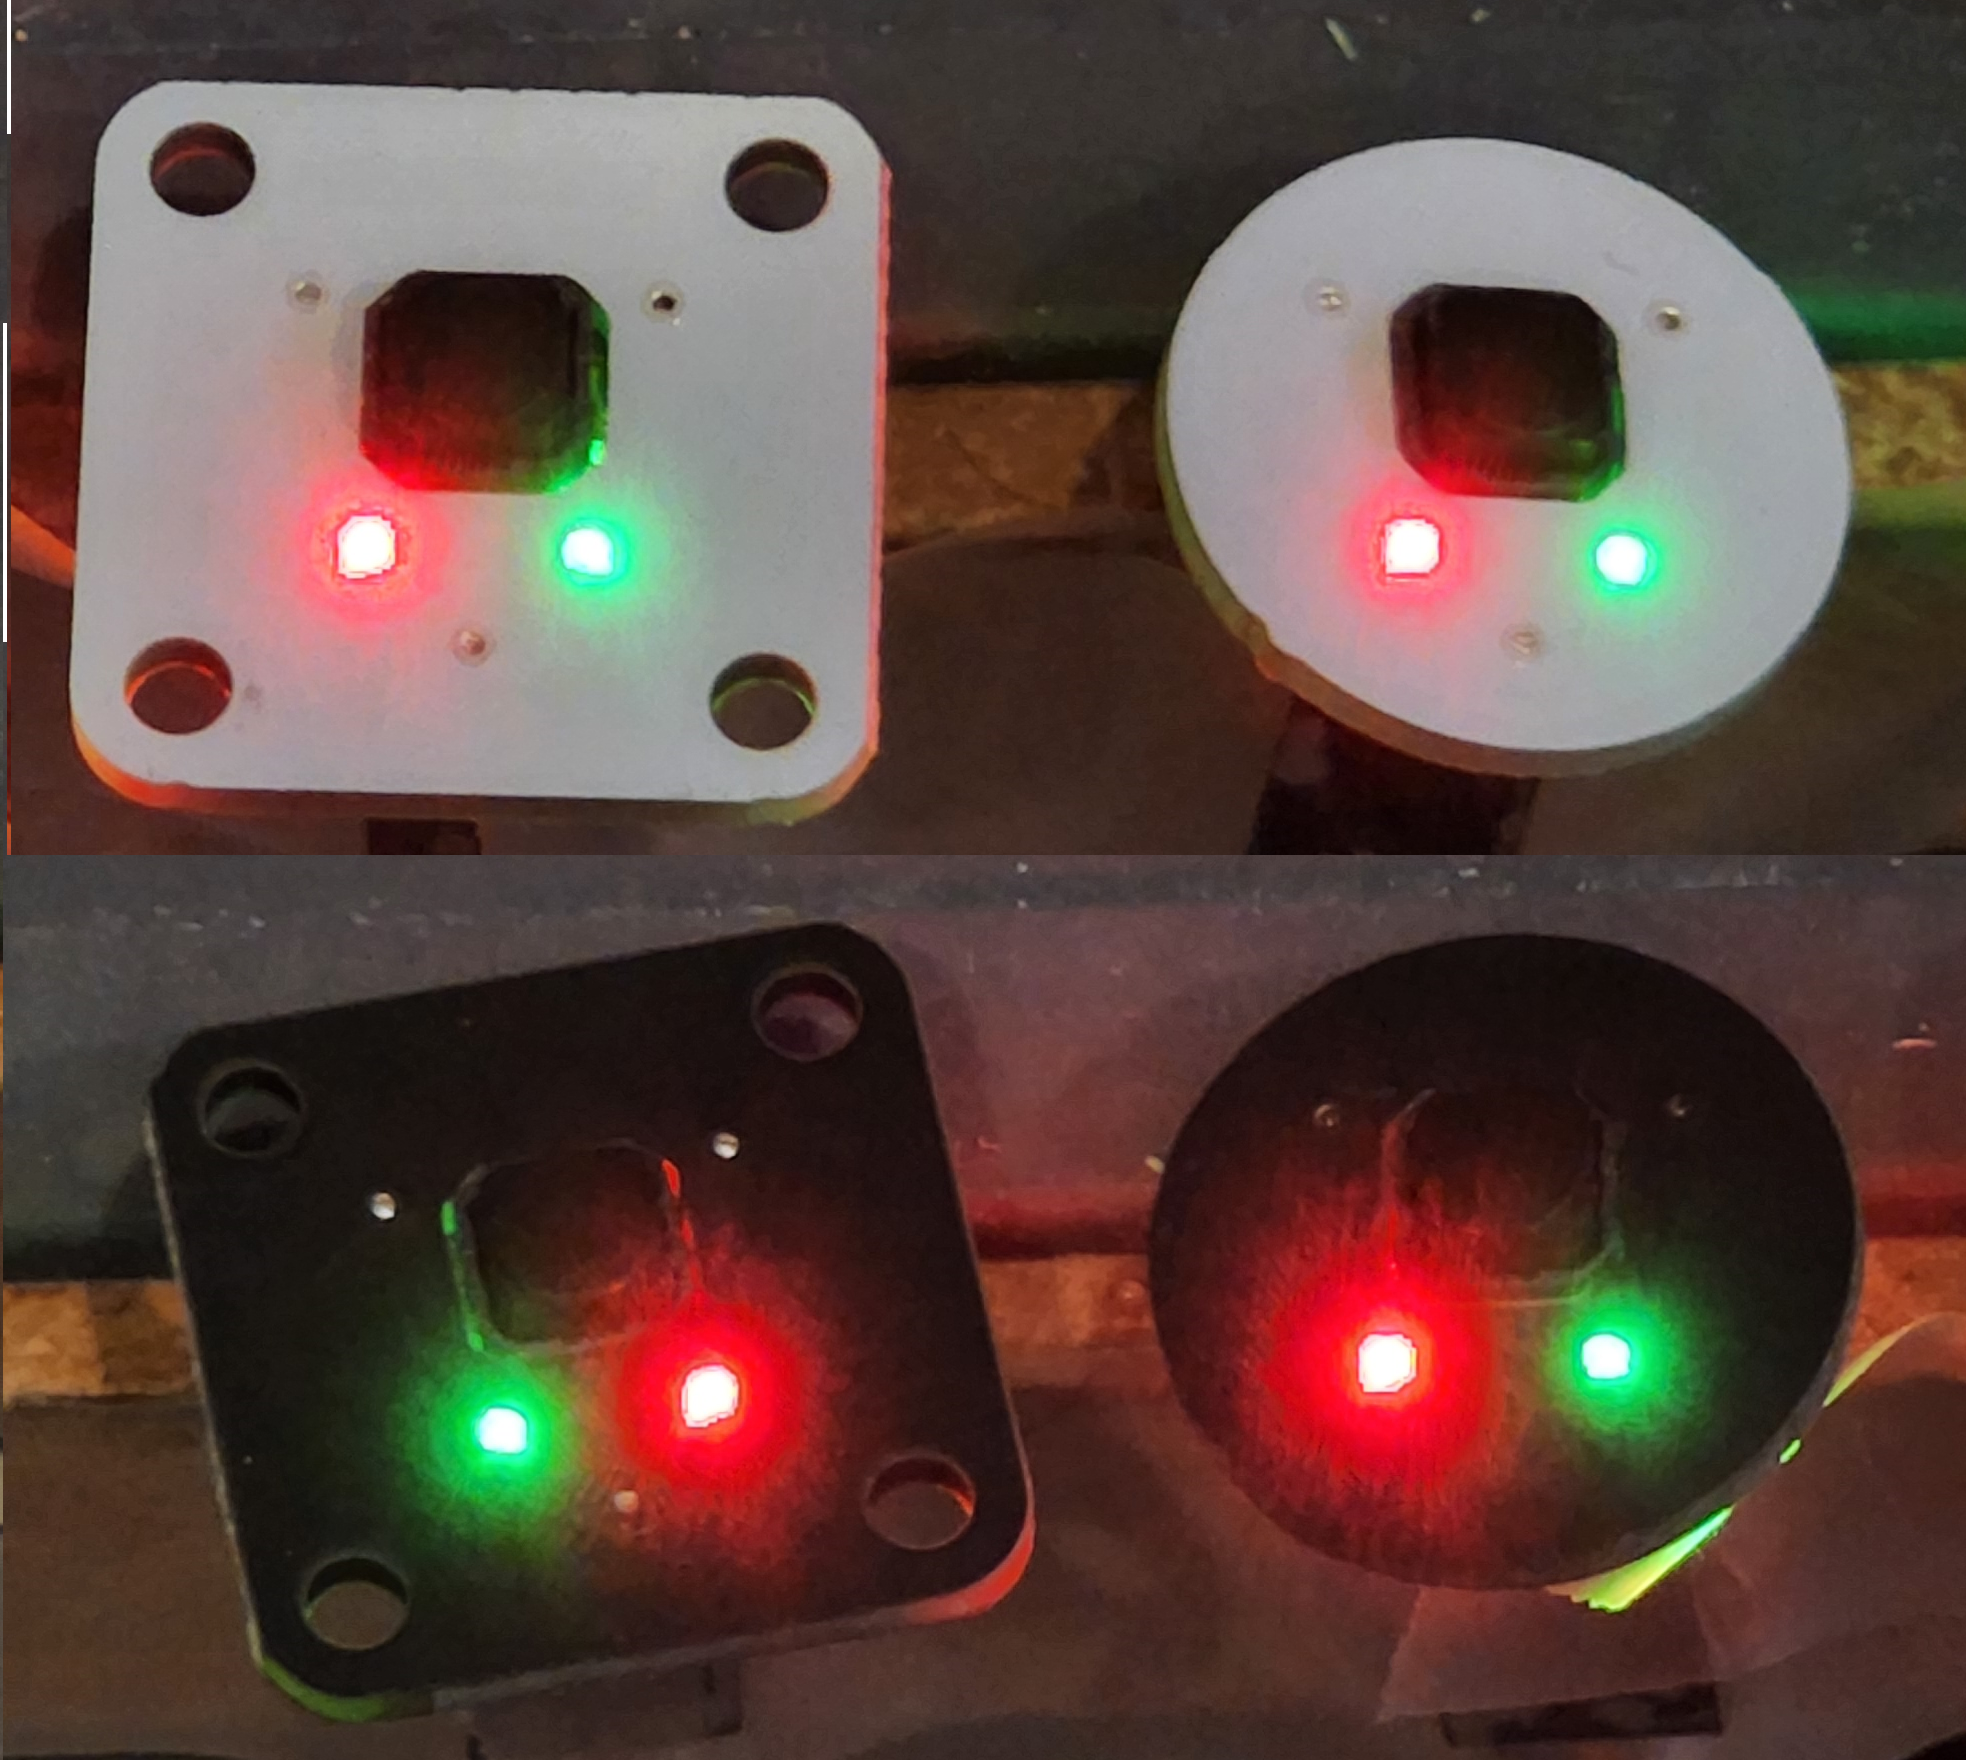
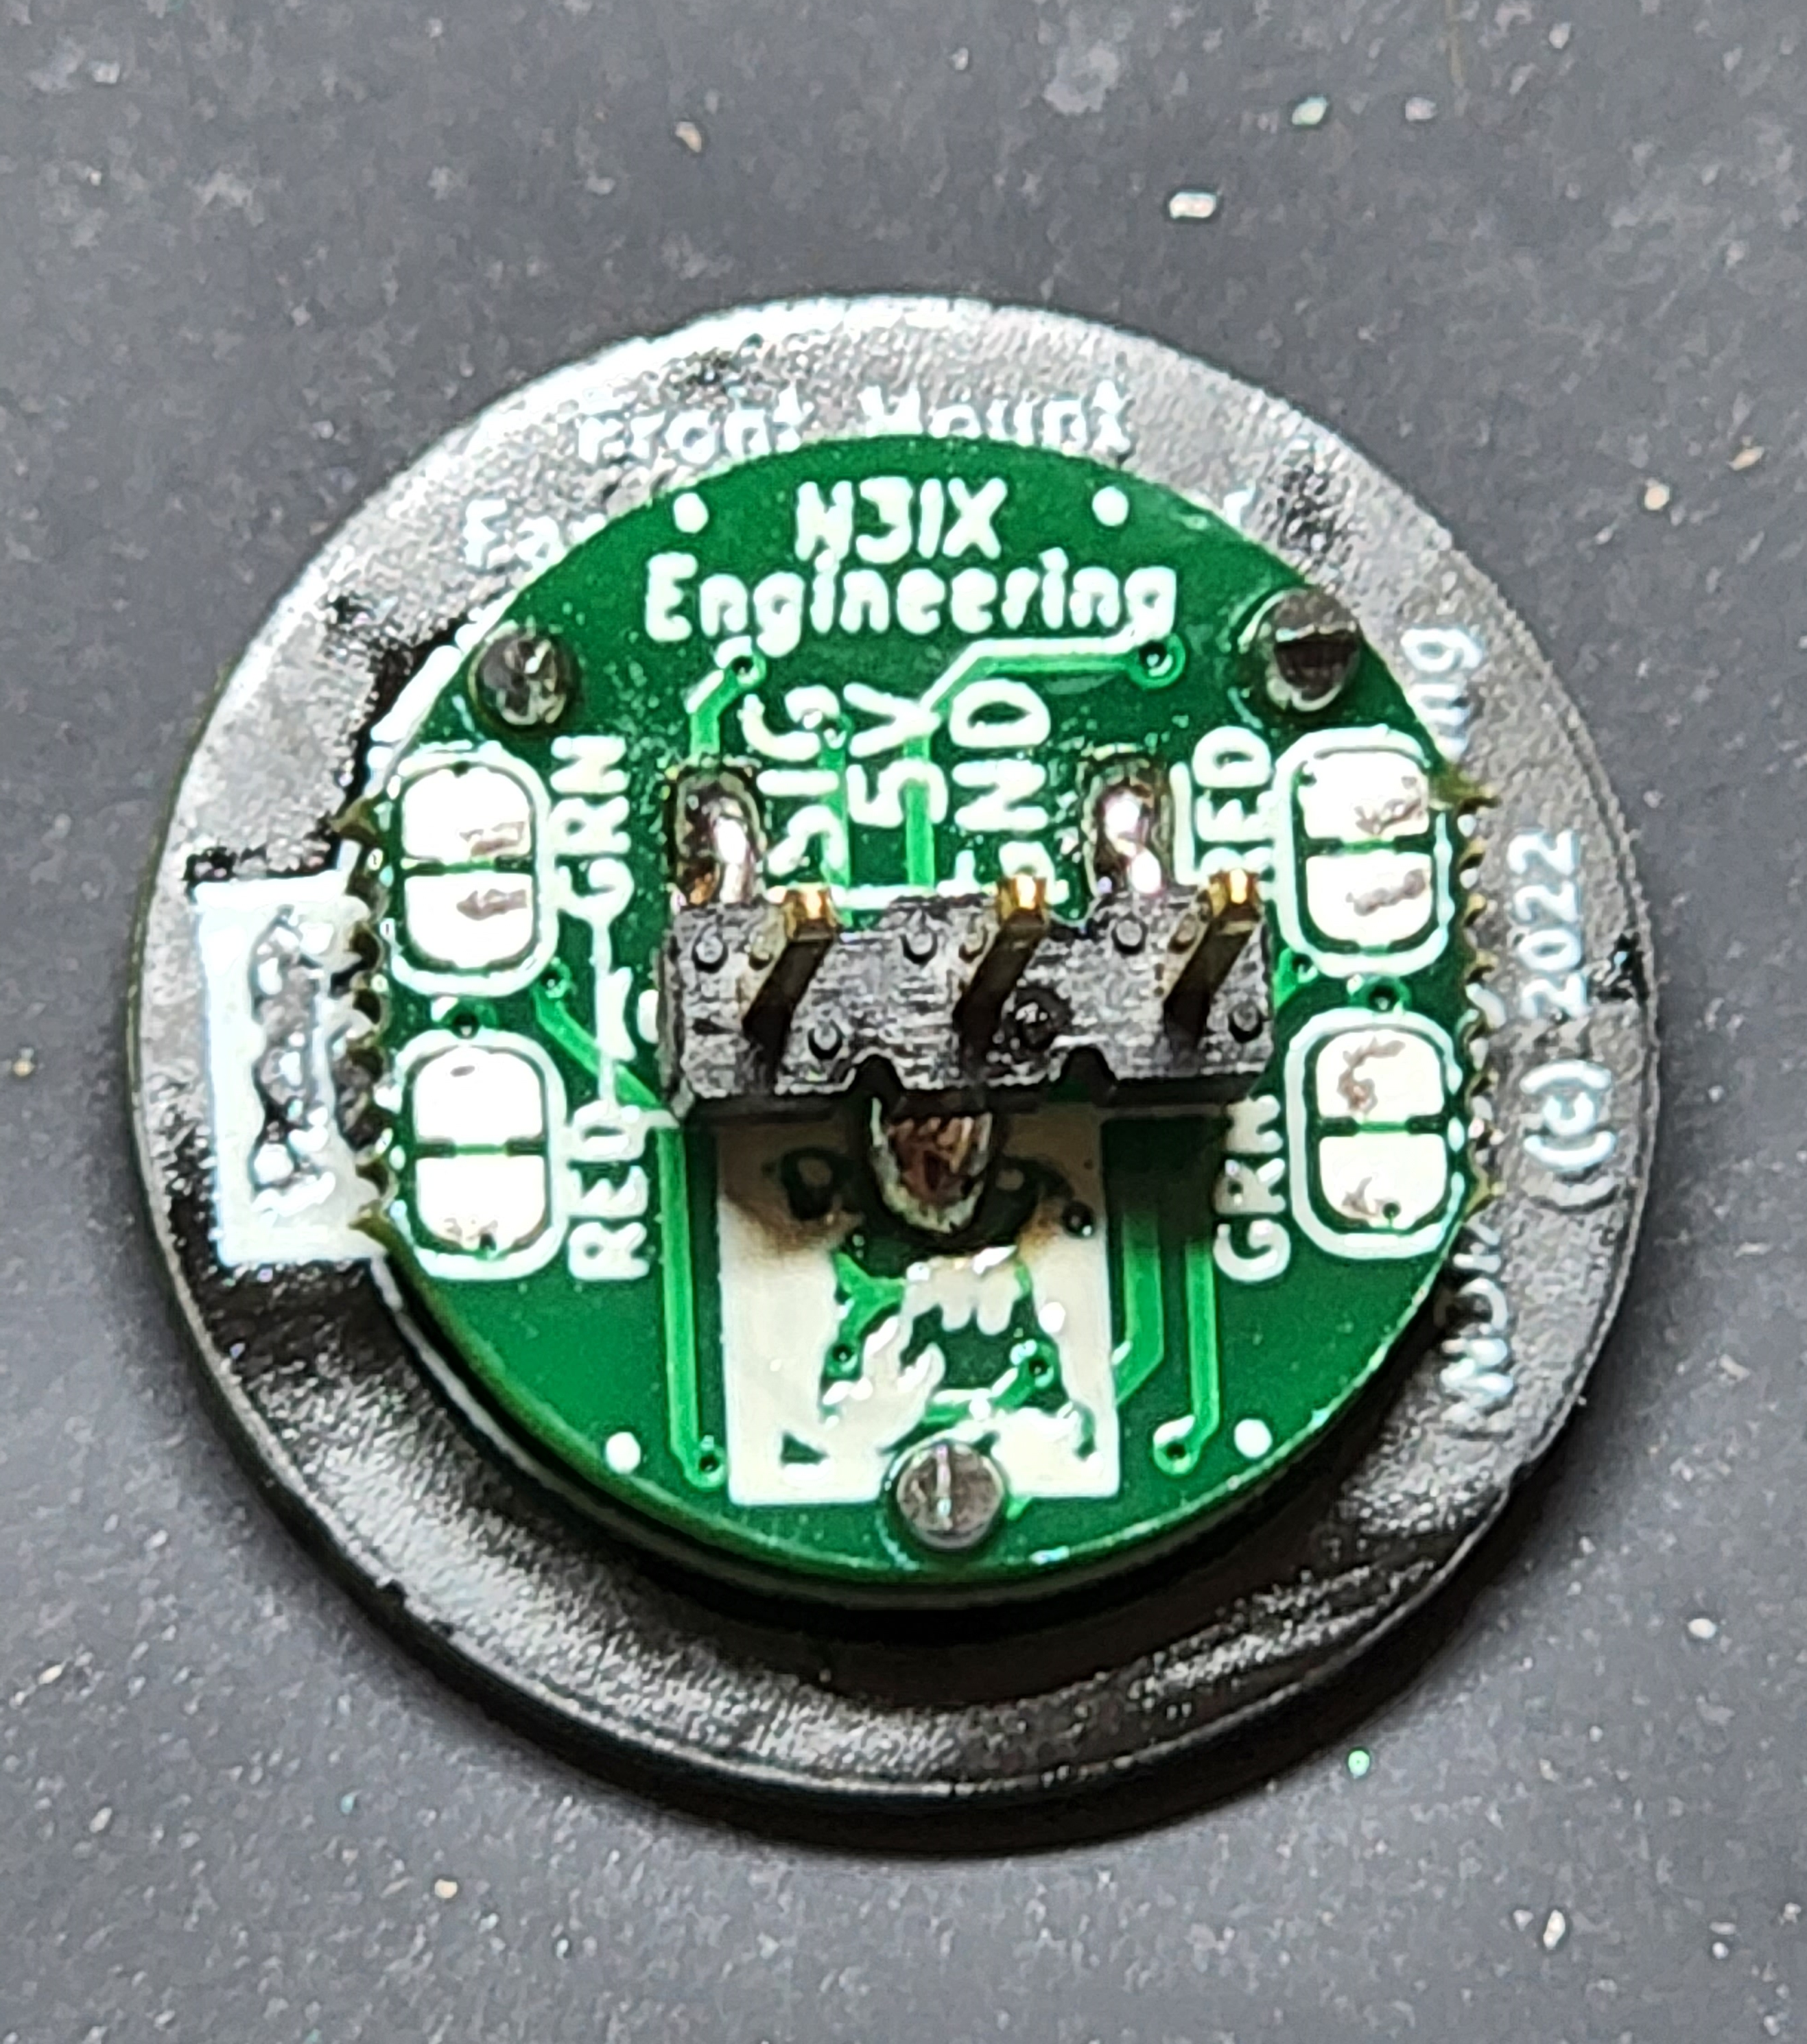
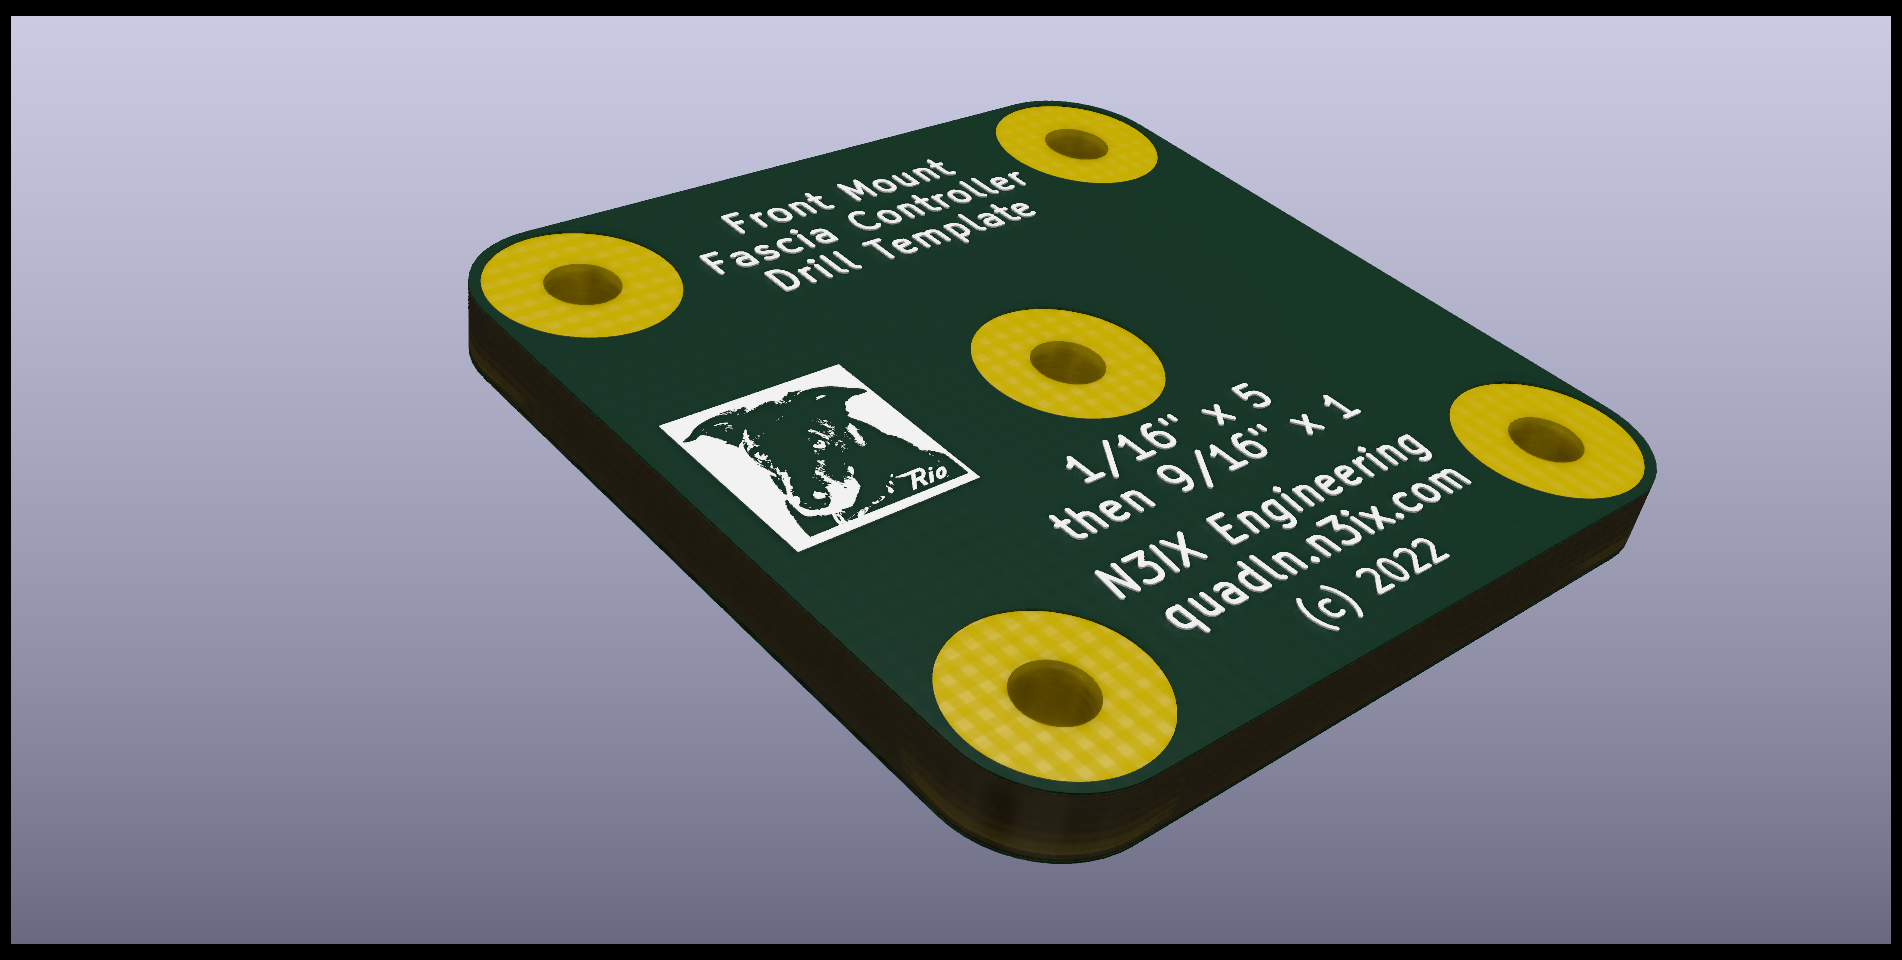
Square – 13/16″ on a side and mounts with #2 screws (included). Drill five 1/16″ pilot holes then enlarge the center hole to 9/16″ to clear the components. Use the available Drill Template (see below) for fast installs.
Round – 3/4″ diameter and mounts with caulk or glue. Drill one 9/16″ hole to clear the components.
Available in Black or White to blend with your control panel.
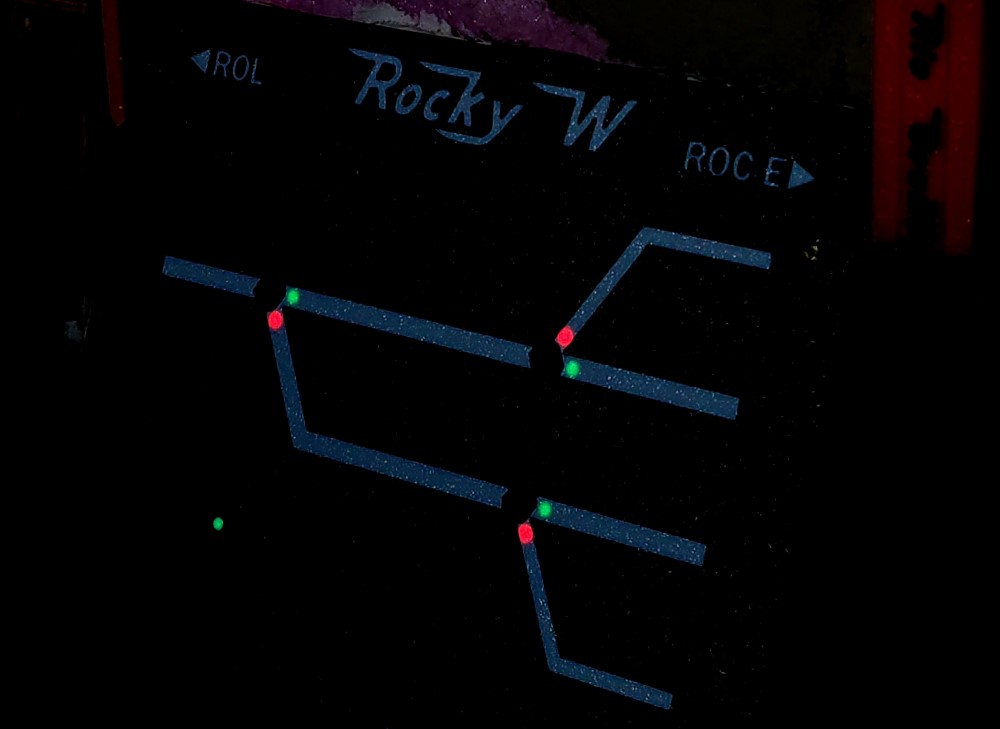
Configured for Dual Green-Red LEDs out of the box. Change to dual Green-only LEDs with two trace cuts. Change to a single Green-Red LED for crossovers with two trace cuts. See table below.
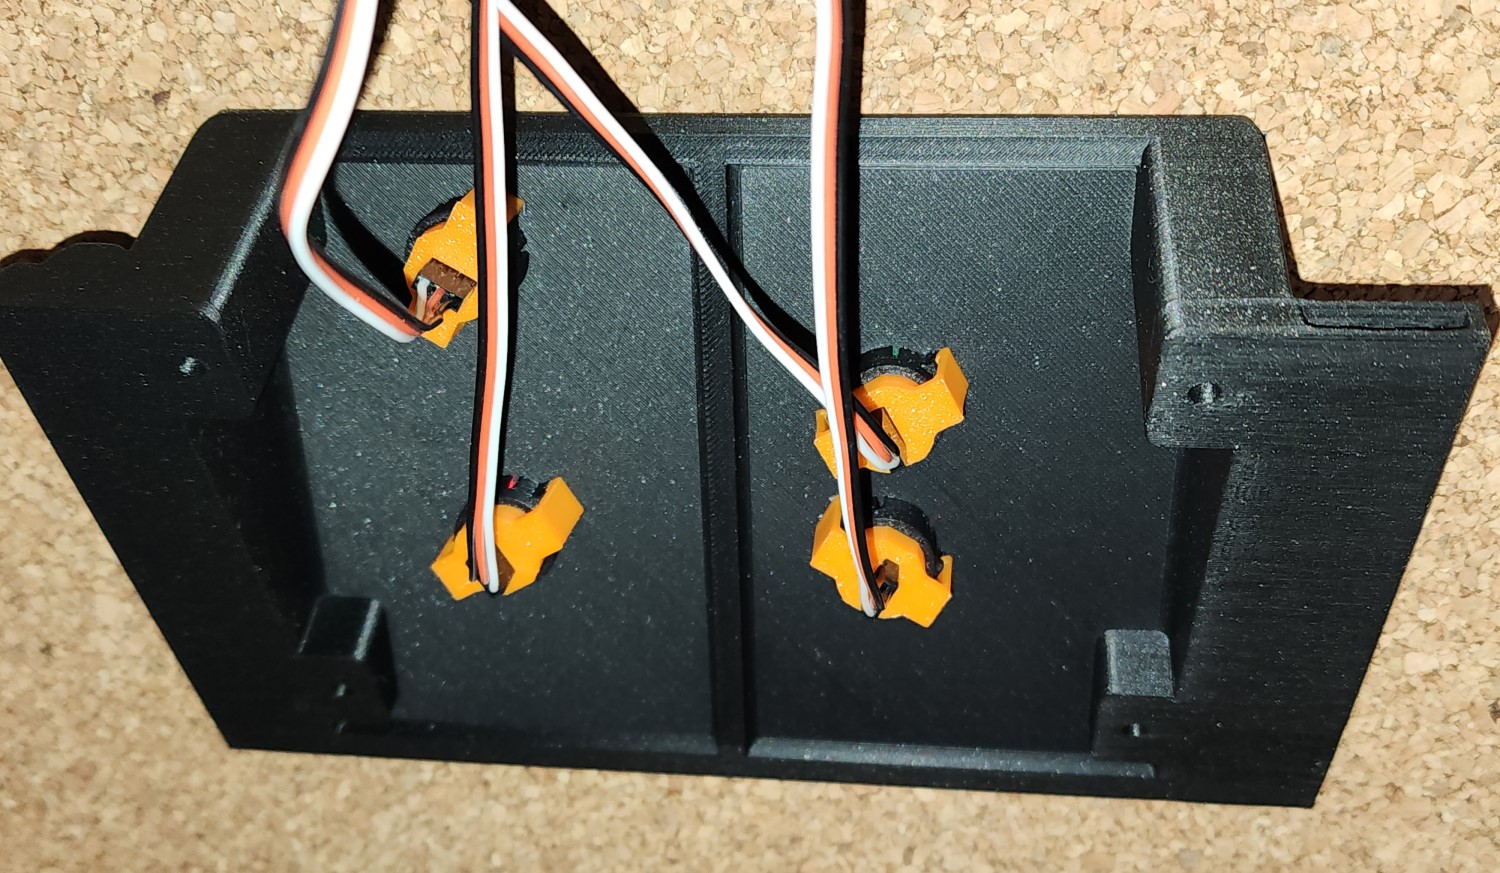
Includes a 12″ cable for connection to a QuadLN_S I/O port. Add servo extension cables as needed for longer distances. Parallel multiple Fascia Controllers using Y cables.
Requires about 1″ clearance behind front edge of panel for cable and connector.
Drill Template for Front Mount Fascia Controller
$0.50
Drill template made from pcb material for help in locating mounting holes for the square bezel version of the Front Mount Fascia Controller above.
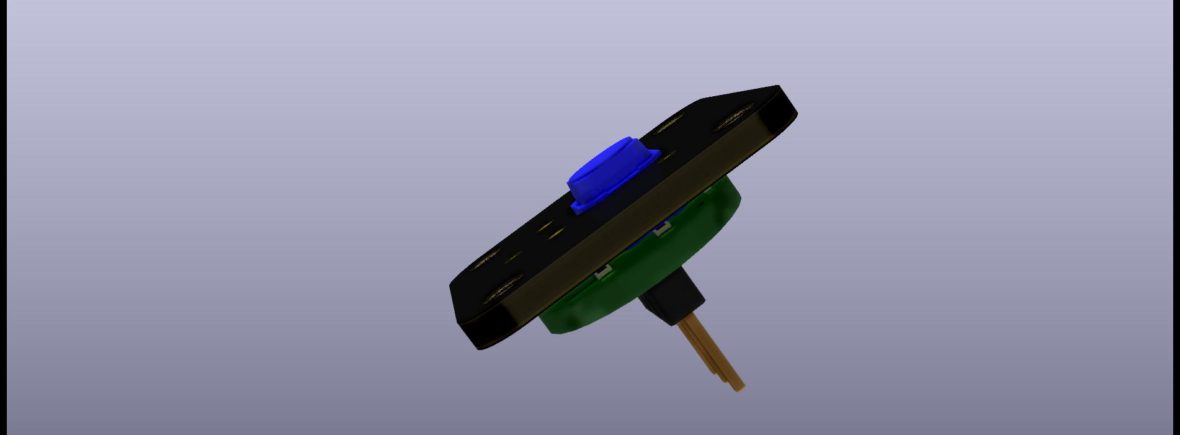
New: Fascia Controller for 3D Panels or other DIY Mounting
Fascia Controller with no Bezel

$4.95

Configuring Fascia Controllers
Easily configure the Fascia Controllers via trace cuts to match the trackwork or to best fit the color-vision abilities of the operators. The trace cuts are on the back of the board: GREEN trace cuts at the bottom left and top right, and RED trace cuts at the bottom right and top left. Here is a table showing three configurations.
CONFIGURATION
Default
Closed
Thrown
Single Color
Closed
Thrown
Single LED
Closed
Thrown
LED A Color
No cuts
GREEN
RED
Cut RED trace
GREEN
Not lit
No cuts
GREEN
RED
LED B Color
No cuts
RED
GREEN
Cut RED trace
Not Lit
GREEN
Cut BOTH traces
Not Lit
Not Lit